
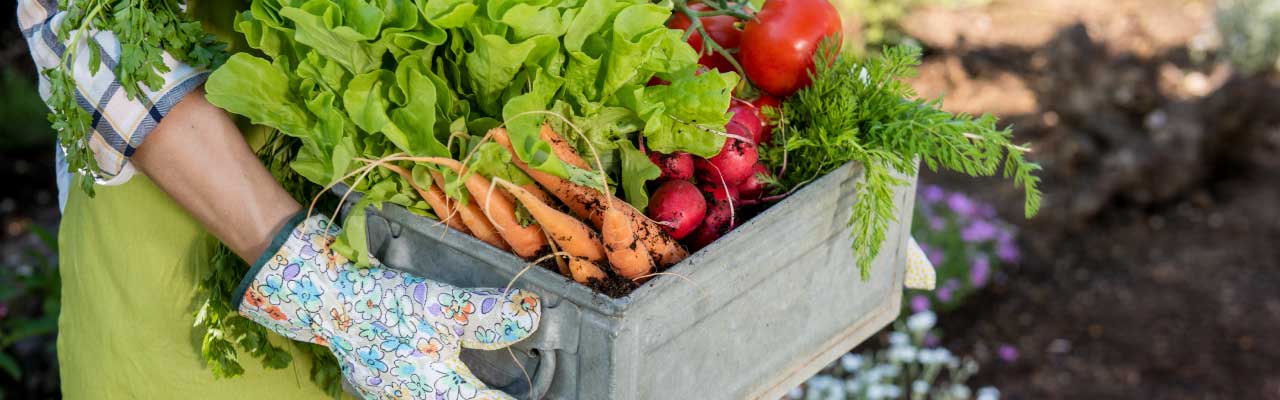
How to grow your own
As we are all becoming more aware of what we eat, it’s not just a matter of eating more healthily, we like to know where our food comes from and how its ha been treated. The best way to be certain of this is to grow it yourself! Whether you have a massive plot, or just a few planters, growing fruit and vegetables can be very satisfying and a little know-how can go a long way.
This guide has been specifically designed to help set you on your way with some basic steps to producing your own fruit and vegetables. We hope you find it a useful guide and enjoy seeing the fruits or your labour.
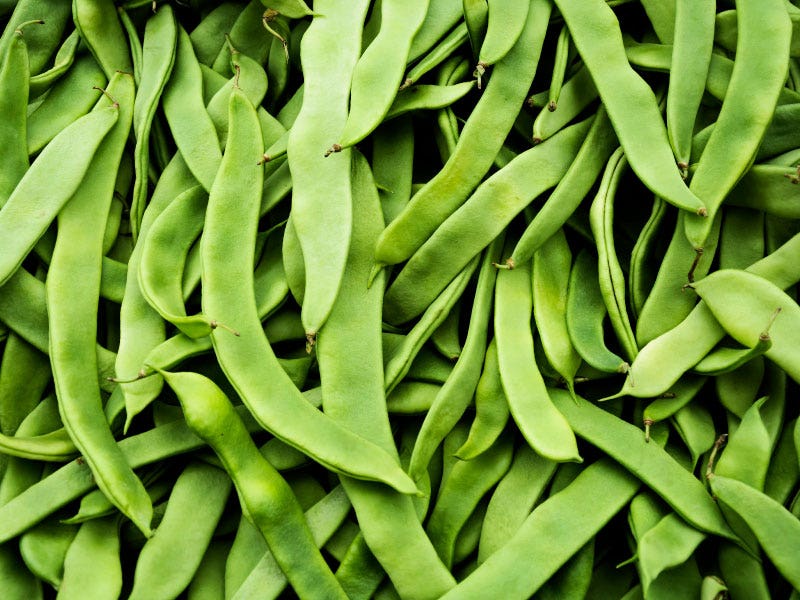
How to grow peas and beans
Step 1 – Sow
One of the easiest vegetables to grow. Sow individual seeds into large modules or root trainers using compost. Keep the compost slightly moist in an unheated propagator.
Step 2 – Plant
When the seedlings are 7-10 cm (3-4 Inches) tall they can be planted out into the garden. Plant them individually into holes the same size as the root ball. Water well. Taller growing varieties will need to be supported with canes.
Step 3 – Harvest
Keep the seedlings watered until they establish. Harvest the pods when you can feel the beans inside the pressings. You can eat the fresh shoots in salads, add them to stir-fries or let the plants develop and produce a healthy crop of beans.

How to grow salad
Step 1 – Fill
Growing fresh salad is child’s play. What’s more, it saves money and provides a steady and fresh supply of salad for months. Fill seedling trays with compost. Firm down gently.
Step 2 – Sow
Sow seeds thinly onto the surface and cover over with a thin layer of more compost. Water well and keep in a frost-free and light environment.
Step 3 – Harvest
Keep the seedlings moist and harvest individual leaves when they are large enough to handle. Sow little and often for a continuous crop.
How to grow tomatoes in a planter
Step 1 – Sow the seeds and water
Sow tomato seeds individually into pots or modules of fresh compost. Water gently and keep frost free to germinate.
Step 2 – Planting out
When the plants are large enough to handle and the roots are showing through the base of the posts or modules, they are ready to plant out.
Step 3 – Plant into the instant planter
Plant three established tomato plants into a planter or grow bag. Make a planting hole and carefully place the root ball into the compost and firm it gently. Keep well-watered. Place outside in a sunny position when all danger of frost has passed.
Step 4 – Water and feed, remove when developed
Stake the plants and tie in the main stem as they develop. Keep well-watered and feed regularly with plant food. Remove the side shoots as they appear and remove the main shoot when the plant has five trusses of fruit developing.


How to grow potatoes in the bag
Step 1 – Planting sprouting seed potatoes
You will need 60L of Compost and place 40L into the bottom of a potato bag. Position 3 to 5 sprouting seed potatoes on the top of the compost and cover over with 10 – 15cm (4-6inches) of compost.
Step 2 – Keep the compost moist
Water the tubers and keep the compost moist but not saturated. The plants will start to root and shoot, leave them until the shoots and leaves push through the compost layer.
Step 3 – Cover and repeat until the bag is almost full
When this happens cover over the shoots with a new layer of 10cm (4 inches) of fresh compost. Repeat this process a second time. When the leaves are 20cm above the bag start feeding every 7-10 days.
Step 4 – When flowers show potatoes are ready
When the plants start to flower, usually between 9 and 12 weeks after planting, you can carefully remove the whole plant and the new potatoes and cook them.
How to grow onions
Step 1 – Preparing the soil
Choose an open and sunny site. Dig over the soil until it is crumbly and easy to work. Dig in some compost to improve the soil if needed.
Step 2 – Planting the onion bulbs
Gently push each mini onion bulb into the prepared soil until just the very tip is protruding, leave at least 10cm (4 inches) between each bulb. Plant them in blocks or rows for convenience.
Step 3 – Be careful with the shallow roots
Weed between the onions and keep the soil moist until they have established. Onions are shallow-rooted, so take care when weeding.
Step 4 – Sun ripens the bases, prepare for winter
In mid o late summer when the leaves have started to yellow and die off, place a fork under the swollen bulbs and lift them out so that the sun can ripen the base of the bulbs. When the foliage has died off completely string them up for winter use.
